How to Integrate Bubble with Dall-E AI to generate images
Let's build a simple app with Bubble which will enable you to type a description, and produce an image using AI
OK, the latest thing is AI produced images, so let’s wire up Dall-E’s newly released API with a Bubble app and try it out.
Prerequisites:
a Bubble free account
an account with https://beta.openai.com/
perhaps a few $ to play around with it once you have built your app. pricing is here https://openai.com/api/pricing/
Dall-E
What even is Dall-E? According to their blog here it is
a trained neural network that creates images from text captions for a wide range of concepts expressible in natural language.
a 12-billion parameter version of GPT-3 trained to generate images from text descriptions, using a dataset of text–image pairs
That’s probably all we need to know at this point as we’re leaving all of the complexity up to them, and will enjoy the ease of consuming their service from the outside, due to the magic of their interface, the API.
Once you’ve signed up, take a read through their usage policy here https://beta.openai.com/docs/usage-policies
Pricing
What? why does this cost money? Mostly because any machine learning and/or AI tasks are computationally expensive, and someone has to pay for those compute cycles, most likely to AWS. Don’t worry though, you can generate many images for much less than the price of a coffee. For example in a recent test I generated 37 images for a total of 63 US cents. You’ll need to add a payment method to your account via this screen https://beta.openai.com/account/billing/payment-methods
API Keys
As with many APIs you’ll need to generate API keys, which act as the method by which the API provider can do things such as:
identify which app is calling the API, and by extension which person [you] owns this app
work out how much to charge you
implement any rate limits, if things get crazy.
You can generate these keys here https://beta.openai.com/account/api-keys
The screen looks similar to this once you have created a key.
Make sure you store this somewhere safe and don’t share it.
This newsletter is Sponsored by the wonderful SaaS Camp
Bubble
Head over to bubble and create a new app, the free plan is fine for this, assuming you are just wanting to try it out.
You’ll need to install the API Connector from the Plugins Tab.
Click the Add Another API button
Name it something sensible, like openai
Fill in the Top section so it looks like this:
but make sure that in the ‘Key value’ field that you type the word Bearer followed by a single space character, then paste in YOUR api key you created in your openai account.
Now we’ll add a method.
Click the Add another call button
Call it something sensible like Generate Image
Choose Action from the dropdown menu [ so it is available later in the Workflow screen] , and choose JSON as the data type.
The Url
Select POST as the http method [ as we are sending data to the API, initially] and specify this as the url https://api.openai.com/v1/images/generations
Note: where did I get this url from? The answer is always, from the docs. The API docs are here https://beta.openai.com/docs/guides/images/introduction?lang=curl
Also from this same page is the sample configuration data that we can send to the API as part of the initialisation
  -d '{
    "prompt": "a white siamese cat",
    "n": 1,
    "size": "1024x1024"
  }'
So, pop this into the Body field:
and Click the Initialize Button
This will then go off to the API, send the config, and return your data. The data types are shown so you can double check [or tweak] how Bubble will process it, and also the raw data is available from the Show raw data link
Note that the primary data you are receiving back is a url.
Click SAVE.
Note: if you are interested in other API + Bubble resources, take a look at my free SaaS here: https://findnocode.info/bubble?query=API
The UI
Ok, create a single page and add 4 things to it:
A multiline input box
a Button, labelled Create Image
A Group
inside this group add an image element
configure the image element to be a Dynamic image with value of Parent group’s text
The Workflow
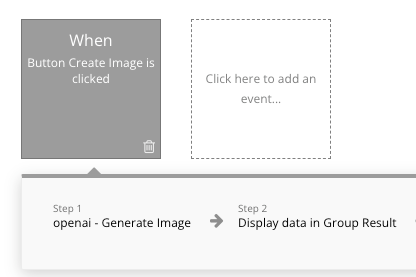
OK, nearly there. Here is where the magic happens. Because we specified Action within our API config, we can now access this as an Action within a workflow, triggered by some activity in our app, in this case the clicking of the button.
We can also customise the data we send to the API so it will create what we want, and not just a large siamese cat.
Click the Button, and Start/Edit workflow
Configure it like this:
That’s it. Now preview your app.
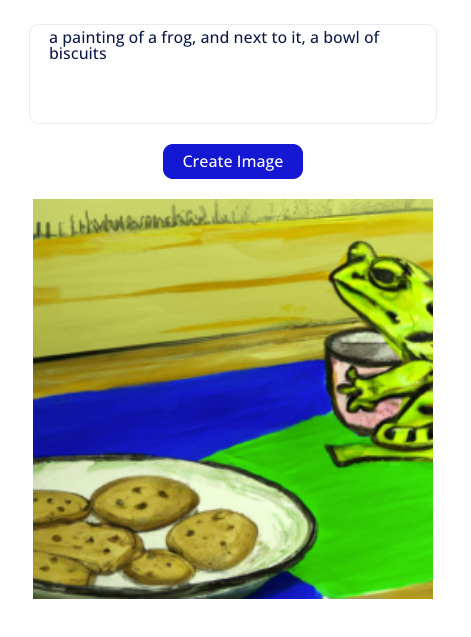
type in something cool like:
a painting of a frog, and next to it, a bowl of biscuits
then click Create Image
Oh! My! Goodness! pretty cool.
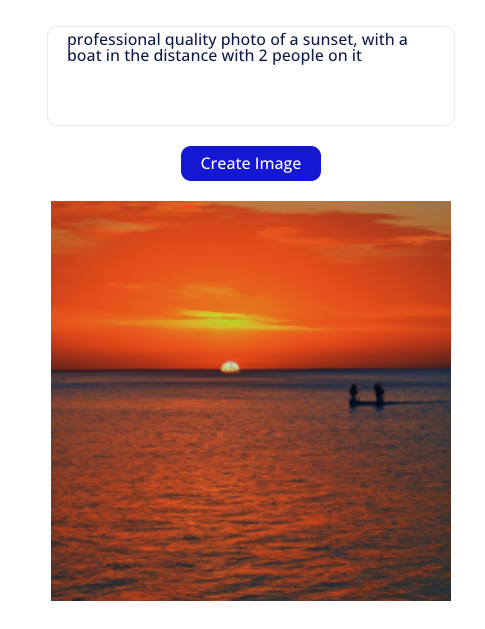
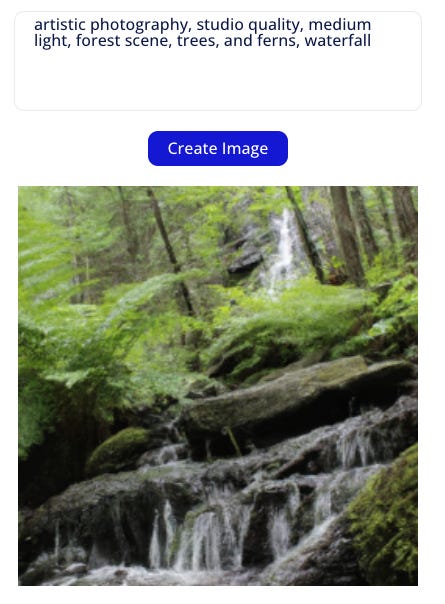
lets try some more:
So, as you can see, that was pretty easy. Now, what was the $damage.. head over to https://beta.openai.com/account/usage and I spent 16 US cents doing the images for this article, including the API call initialisation.
(ps if you want more, check out what Mark Fletcher is building over at https://thinksee.ai/)
That’s all folks, thanks for reading.


